
Symptoms: When should the distributor be replaced?
Tools & Aids
- →Pipe wrench or water pump pliers (for G 1" connections)
- →PTFE thread seal tape (min. 12 layers)
- →Hand pump for pressure testing (0–6 bar, integrated pressure gauge)
- →Bleed key or flat-blade screwdriver for bleed valves
- →Spirit level (for horizontal alignment of the manifold)
- →Anchors & Screws (M6, for distribution box wall mounting)
Checklist before retrofitting
- →Determine manifold position: max. 20 m from boiler/heat pump, central to all heating circuits — minimizes pipe lengths and pressure loss
- →Flow sensor in the supply pipe present or planned? (Mandatory for boiler control)
- →All underfloor heating pipes laid and accessible? Only mount after screed installation and drying phase
- →Wall niche carved out for flush-mounted box, or wall surface cleared for surface-mounted installation
- →230V power within reach for actuators and room thermostat cables (if desired)
Retrofitting: Scenarios, Process, and Funding
The heating circuit distributor needs to be retrofitted when installing a new heat pump, expanding the heating system, or replacing a defective/outdated distributor. In Germany, this comes with significant funding opportunities – but also clear legal requirements.
When is retrofitting useful or necessary?
| Situation | Retrofit Need | Typical Costs (DIY) |
|---|---|---|
| Install heat pump | Yes – if old distributor is brass | €150–€280 (stainless steel set) |
| Expand underfloor heating by 2–4 circuits | Yes – larger distributor needed | €120–€250 (replacement) |
| Distributor leaking / defective | Yes – immediate action | €100–€200 (replacement same size) |
| No hydraulic balancing possible | Yes – if no flow meters are present | €80–€130 (distributor with flow meters) |
| Old plastic/chrome steel system | Recommended – during renovation | €150–€320 (complete set) |
| Retrofit actuators | No – distributor remains, actuators are added | €15–€35 per actuator |
Retrofitting in old buildings: Special features and common problems
Older underfloor heating systems may use 3/4" connections instead of the G 1" standard. Reducers G 1" → 3/4" cost €3–€8 per connection and allow for universal connection.
Before replacing, measure water hardness (pharmacy or test strips). Below 8.4 °dH: stainless steel is mandatory – brass leads to dezincification. Request a free test from your water supplier.
Old building underfloor heating systems often have sludge and oxide deposits. Before installing the new distributor: Flush each circuit individually with a flow velocity ≥ 0.5 m/s.
When replacing heating in Germany: hydraulic balancing is mandatory. A distributor with flow meters enables DIY balancing and saves €200–€500 in craftsman costs.
Replacement process: Old distributor out, new one in
supply
drain
individually
position
8 layers
circuits
6 bar pressure test
Retrofitting costs and funding opportunities
6-circuit stainless steel set
incl. material & balancing
with heat pump combination
- KfW 458 (Federal Funding): Distributor as part of the underfloor heating system eligible for funding when installing a heat pump – up to 80% of total costs
- BAFA Heating Optimization: Hydraulic balancing according to gG method B – flat rate of 30% of costs up to a maximum of €600 per unit
- State Programs: Bavaria (BayernFonds), North Rhine-Westphalia (progres.nrw), Hamburg (IFB) have supplementary programs
- Austria: Sanierungsscheck (Renovation Check), federal state programs (e.g., Wien Wärme Bonus)
- Switzerland: Cantonal building program – cantonal energy expert advises
- →Step 1: Fit the distribution box into the wall recess, align it horizontally, and secure it with anchors.
- →Step 2: Screw ball valves (flow top / return bottom) to manifold using PTFE sealing tape
- →Step 3: Insert manifold into the box, engage retainers
- →Step 4: Connect the underfloor heating pipes (flow and return) sequentially to the manifold connections — Label the circuits!
- →Step 5: Slowly fill the system with water via the ball valve, bleeding all circuits individually
- →Step 6: Carry out pressure test with hand pressure pump at 6 bar for 30 minutes — no pressure drop = sealed
- →Step 7: Screw actuators (E30NC-230) onto all manifold outlets, route cables to room thermostats
- →Step 8: Set flowmeter to the reference value (0.5–2.5 l/min per circuit depending on room size) and start up heating
Achtung – Fachmann empfohlen
Threaded connections without sufficient PTFE sealant tape (at least 12 layers) lead to creeping leaks — especially on G 1" threaded connections.
Achtung – Fachmann empfohlen
Pressure testing at 6 bar MUST be carried out before closing the wall niche or before plastering — subsequent repairs are costly.
Frequent Questions about Heating Circuit Manifold Installation
Stainless Steel Heating Circuit Manifolds & Accessories
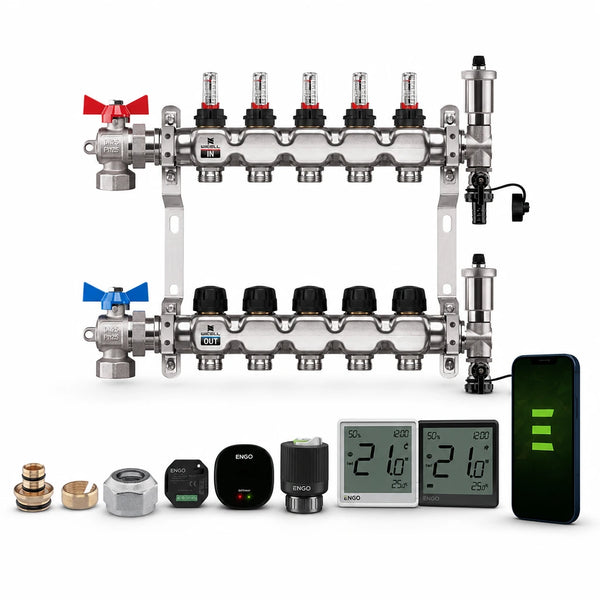
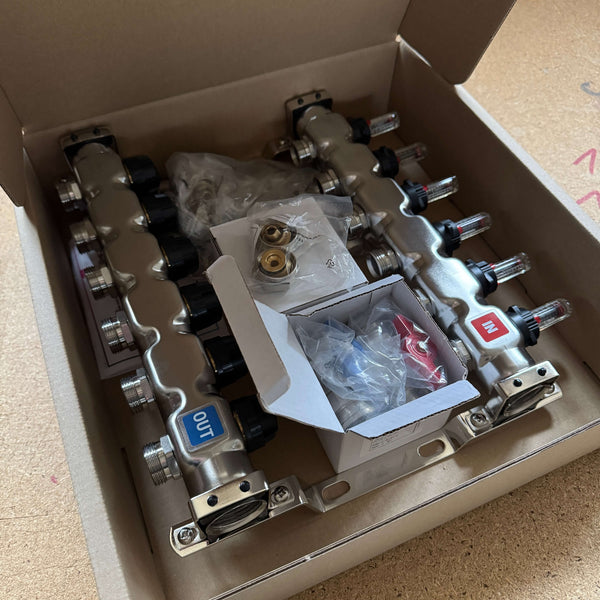
Configurable Heating Circuit Manifold Set | Underfloor Heating Set Discount
Heating circuit manifold
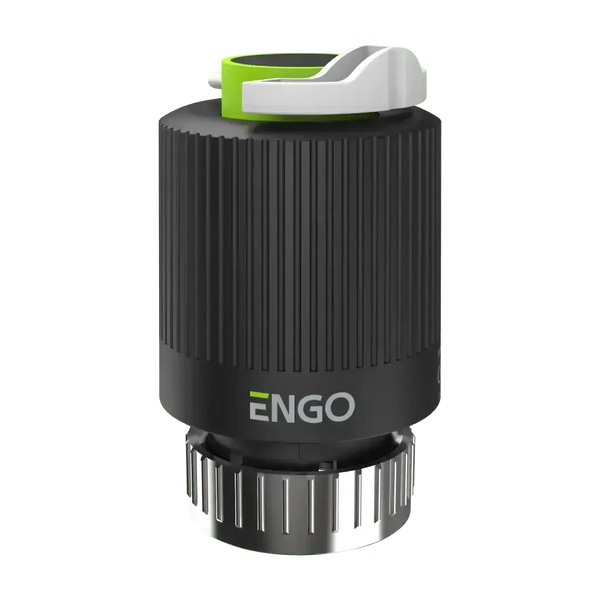
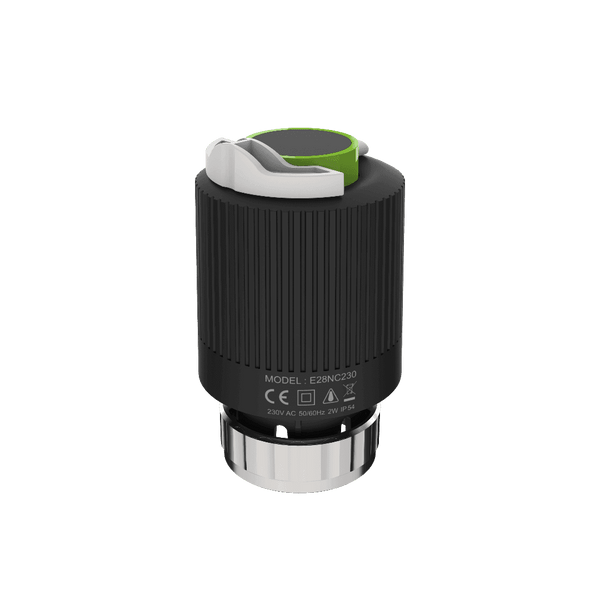
Thermoelectric actuator Engo E30NC-230 for underfloor heating
Actuator
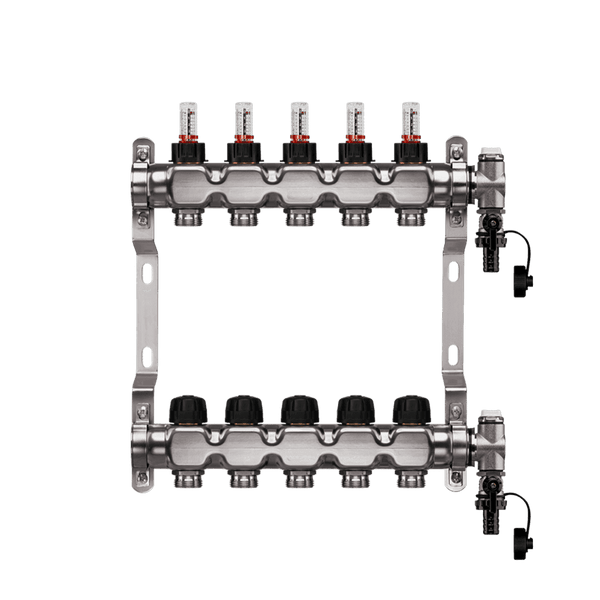
Heating circuit manifold with top meter
Heating circuit distributor
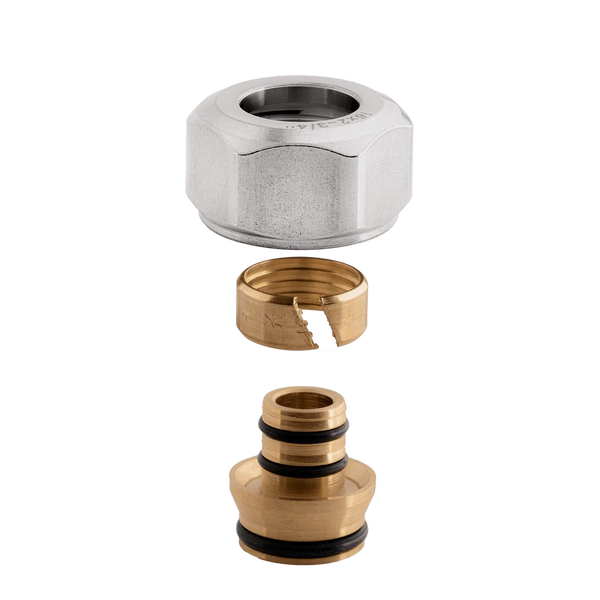
Compression ring screw connection 3/4" Eurocone
Connection screw