Retrofitting Underfloor Heating in Old Buildings: Why the Thin-Layer System Works
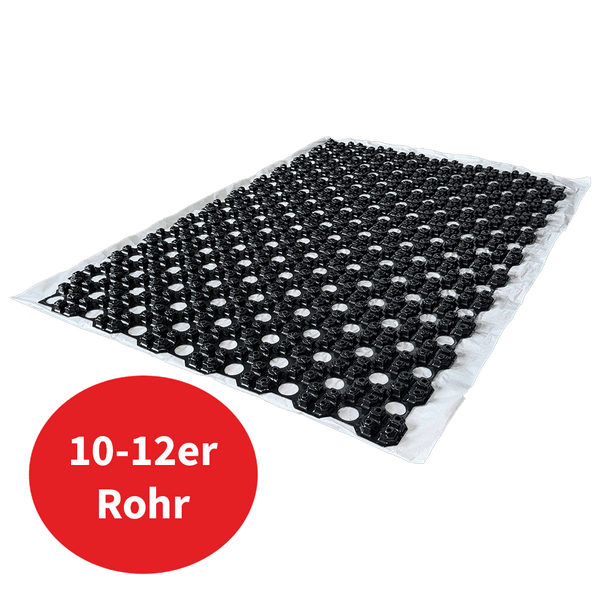
The biggest problem with old building renovations is the installation height. A classic wet screed system (tacker board + wet screed) requires an installation height of 65–80 mm – which means: shortening all doors, adjusting stair treads, re-setting thresholds, and raising window sills. In a typical old building with low ceilings or heritage-protected doors, this is simply not possible. The thin-layer system fundamentally solves this problem: The self-adhesive NerthusFlow knobbed film adheres directly to the existing floor – whether cement screed, old tiles, or wooden floorboards. The PE-RT heating pipe clips into the knobs without tools. Kerakoll Planogel Rheo is poured as a self-leveling flow screed with only 5 mm of cover over the pipe. The result: 17–22 mm total installation height. Doors remain unchanged. Window reveals remain unchanged. No dismantling, no chiseling.
The System Structure in Detail: What exactly is being installed
The NerthusFlow thin-layer system consists of three coordinated components: NerthusFlow dimpled sheet (10–16 mm): Self-adhesive PE film with dimples into which the heating pipe is clipped without tools. Three variants: NP12 (10 mm, for 12 mm pipe), NP14 (14 mm, for 14 mm pipe), NP16 (16 mm, for 16 mm pipe). Adheres permanently to cement, tiles, wood, and screed. PE-RT EVOH heating pipe (Ø 12–16 mm): Oxygen diffusion-tight multi-layer composite pipe. Lifespan 50+ years. Maximum operating temperature 60 °C – ideal for heat pumps (30–40 °C flow temperature) and condensing boilers. Kerakoll Planogel Rheo: Self-leveling CAF flow screed specifically for thin-layer systems. Minimum coverage: 5 mm above the pipe crown. Ready for covering after 3–12 hours – instead of 21–28 days for classic wet screed. Certified according to DIN EN 13813 CT C30-F7.
For which old building situations is the thin-layer system suitable?
Concrete floor / cement screed (ground floor and upper floor): Wet construction method – direct gluing of the dimpled membrane, grouting with Planogel Rheo. Optimal heat storage, compliant with DIN 18560. Old tiles (firmly attached, no hollow sound): Membrane adheres directly to tiles – no removal necessary. First tap and re-bond firmly adhering areas. Wooden beam ceilings (typical Gründerzeit before 1930): Dry construction method with ArdusAlu heat conduction plates – no wet screed, no moisture risk, no additional load from screed weight. Unheated garage or cellar underneath: GEG insulation requirement applies – install a vacuum insulation panel (VIP, 25 mm) or standard insulation board (90 mm WLG 045) underneath. Heated cellar underneath: No insulation requirement according to GEG – thin-layer system directly on existing structure possible.
Requirements: Substrate, Material & what remains?
Materials Needed
- →Bubble wrap (NP12/14/16) – self-adhesive on existing flooring
- →PE-RT heating pipe Ø 12–16 mm suitable for the film
- →Kerakoll Planogel Rheo – self-levelling, min. 5 mm above pipe
- →Reinforced edge insulation strip (self-adhesive, min. 50 mm)
- →Drywall Option: ArdusAlu Heat Spreader Plates (for wooden beam ceilings)
- →Heating circuit manifold, pressure gauge, spiked roller, 2 m straightedge
- →Self-levelling compound (for unevenness > 3 mm), moisture meter
What remains, what will be new?
- →Existing screed remains: Dimpled sheet adheres directly to it – no removal
- →Keep the tiles: Thin-layer system can be glued to tiles (firm + no hollow sound)
- →Timber beam ceiling: Choose the drywall variant with ArdusAlu (no wet screed)
- →Heating system: compatible with 30–40°C flow temperature – ideal for heat pump & condensing boiler
- →Heating manifold: plan a new location (wall niche or concealed unit)
- →Check door undercut: min. 22 mm for NP12, 27 mm for NP16 (foil + screed)
Wet construction or dry construction - the right system comparison for your old building
- →Wet construction (dimpled sheet + screed): Dimpled sheet + PE-RT pipe + Planogel Rheo – structure 17–22 mm, ideal for concrete and screed floors, optimal heat storage, DIN 18560
- →Drywall (ArdusAlu): Pipe in heat conducting plates without screed – immediately walkable, no moisture risk, ideal for wooden beam ceilings and time-critical projects
- →Decision aid: Concrete floor → wet construction. Wooden beams or wet screed not possible → dry construction. Both: max. 35–45 °C flow temperature, HP-compatible
- →Material costs: Thin-layer wet construction system from €10.53/m² (foil + pipe) + Planogel Rheo approx. €35/m². Dry construction ArdusAlu approx. €28–45/m² – no screed required

NerthusFlow Thin-Layer System for Renovation of Old Buildings: Self-adhesive studded membrane on existing screed, heating pipe clipped in, ready for Planogel Rheo pour.
Renovation process: 5 phases from planning to flooring
Phase 1 – Planning & Substrate Inspection: Measure door undercut and select variant (wet construction/dry construction). Check subfloor for flatness (≤ 3 mm/2 m) and load-bearing capacity. Determine location of heating circuit distributor. Demand calculation: pipe quantity, screed requirement (approx. 18 kg/m² for 5 mm), distributor size according to number of rooms. MC Therm calculates this free of charge based on your floor plan.
Phase 2 – System Installation: Attach edge insulation strips, lay self-adhesive dimpled membrane or insert ArdusAlu plates, clip in heating pipes, perform pressure test (4 bar, 24 h). The complete step-by-step instructions with timings, professional tips and notes on pipe laying patterns can be found in our → installation manual.
Phase 3 – Pouring the screed & letting it cure: Wet installation: Mix Planogel Rheo with a mixing pump and pour evenly. Minimum 5 mm coverage over the pipe crown. Immediately roll with a spiked roller (aeration roller) to remove air pockets. Self-leveling – no smoothing necessary. Walkable after 24 hours (light traffic), floor covering after 4–12 hours. Caution: No heating for the first 28 days. Dry installation: proceed directly to the next step – no screed required.
Phase 4 – Manifolds, Thermostats & Hydraulic Balancing: Mount the heating circuit manifold at the planned position (wall niche or flush-mounted box, approx. 30 × 60 cm required). Connect all circuits, fill the system, and vent completely. Perform hydraulic balancing – legally required since 01.10.2024 according to GEG §60a. For heat pumps: Procedure B is required. Install thermostats for individual room control (cable, WiFi, or Z-Wave). Perform test heating at 25 °C flow temperature, maintaining it stably for 3 days. Specialist costs: approx. €600–1,000 for balancing and commissioning.
Phase 5 – Heating Protocol & Floor Installation: Start heating protocol according to DIN 18560: Increase flow temperature by 5 °C daily (from 25 °C to operating temperature), document protocol (mandatory for warranty). Afterwards, flooring: Tiles/natural stone (best heat transfer, λ-value ≥ 1.0 W/mK), vinyl/LVT (easiest installation), engineered wood flooring (12 h after screed, approved for UFH, max. 0.15 m²K/W thermal resistance). Total project duration: 5–7 weeks wet construction, 1–2 weeks dry construction.
Frequently Asked Questions: Retrofitting underfloor heating in old buildings
For wet construction (dimpled sheet + Planogel Rheo), the total build-up is 17–22 mm: 10 mm dimpled sheet + 14 or 16 pipe + 5 mm screed over the pipe. For dry construction (ArdusAlu panels), 22–30 mm is sufficient. Both variants generally allow existing door frames and window sills to be retained – unlike classic wet screed systems with 65+ mm.
Yes – the thin-layer system is fully heat pump compatible. Flow temperatures of 30–40 °C are sufficient; heat pumps operate in this range with COP values of 4–5. Underfloor heating and heat pumps are the optimal combination because the large surface area efficiently converts low temperatures into heat. All NerthusFlow systems are designed for this operation.
Thin-layer system (wet construction): Dimpled membrane + heating pipe + Planogel Rheo CAF flow screed. Ideal for concrete and screed subfloors. Ready for covering after 7 days. From 17 mm installation height. Most affordable old building solution from approx. €50/m² total.
Dry construction (ArdusAlu): Dry screed system panels with milled channels, aluminum heat distribution plates. No wet screed, immediately walkable, ideal for wooden beam ceilings and floors with critical load-bearing capacity. From 22 mm installation height. Approx. €60–80/m².
Both variants are supplied as complete sets and can be combined (e.g., wet construction on the ground floor, dry construction on the upper floor with wooden beam ceiling).
The thin-layer system is suitable under almost all floor coverings:
✓ Tiles & natural stone – can be laid after 4 hours drying time (Planogel Rheo)
✓ Vinyl & design flooring – can be laid after 12 hours
✓ Parquet (engineered wood flooring) – after 12 hours, with a separating film; solid wood parquet is not suitable
✓ Carpet – possible, but reduces heating performance
Important: A low thermal resistance of the floor covering (≤ 0.15 m²K/W according to EN 1264) is a prerequisite for optimal heating performance.
Only if the floor structure above ground or an unheated outdoor area (e.g., ground floor slab) is newly constructed – then the GEG (German Buildings Energy Act) prescribes U ≤ 0.50 W/m²K (~90 mm WLG 045). This obligation does not apply to structures above a heated basement. For very low rooms, vacuum insulation panels (VIP) of 20–30 mm are possible – providing the same insulation value as 10–15 cm of standard material. If you are unsure: MC Therm offers free advice on your specific situation.
For solid concrete or hollow-block ceilings, the additional load of 30-50 kg/m² (thin-layer + Planogel Rheo) is generally uncritical – no structural engineer is required. For timber joist ceilings (typical in Wilhelminian-era buildings before 1930), the load-bearing capacity should be confirmed by a structural engineer before ordering materials. This is especially true if additional impact sound insulation or VIP insulation is planned (total load then 60-80 kg/m²). The structural assessment costs approx. €200-500 and is money well spent in case of doubt.
Yes – as a modernization rent increase according to §559 BGB. Up to 8% of the modernization costs (proportionately to the residential unit) can be added to the rent annually. Cap: The rent may not increase by more than €3/sqm within 6 years (€2/sqm in areas with a strained housing market). Tenants must tolerate the measure, but can object in cases of undue hardship. Notification 3 months in advance via a modernization announcement is required.
Not without the express written consent of the landlord. The installation is considered a structural alteration to the leased property. Many landlords agree if the tenant undertakes to restore the original condition upon moving out – or to leave the installation as a value-enhancing measure in the building. Without permission: Obligation to remove and potentially pay damages. Tip: Make a written agreement with the landlord before ordering.
Thin-layer system – products for old building renovation
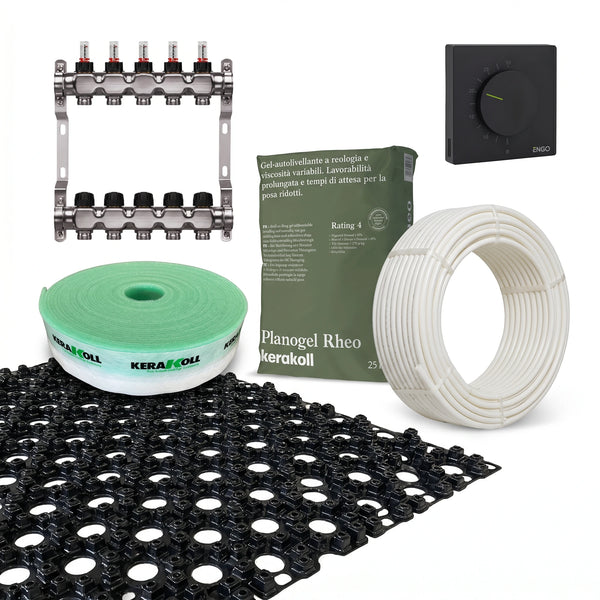
Low-Profile Underfloor Heating Complete Set | Configure your set!
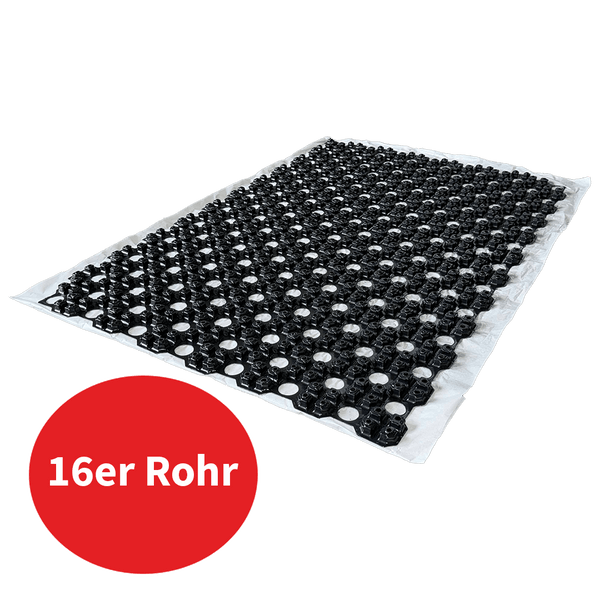
13.74 m² Thin-layer Underfloor Heating Dimpled Sheet NerthusFlow for 16mm Pipe
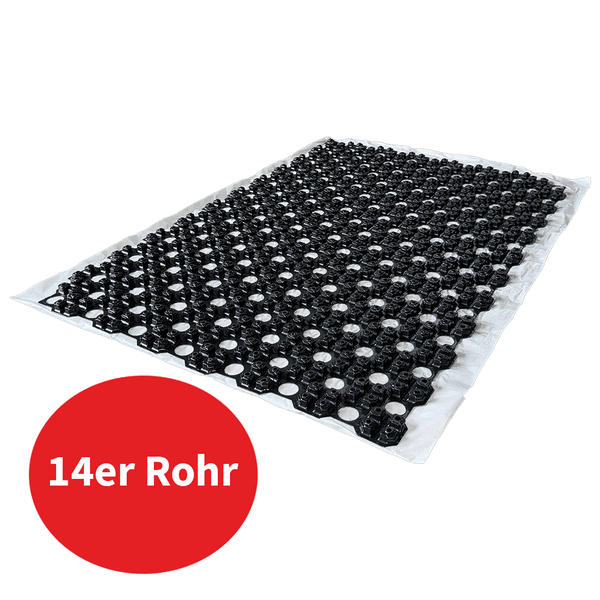
15.46 m² Thin-layer underfloor heating studded membrane NerthusFlow for 14mm pipe