What do I need? Materials, tools & substrate requirements
Required materials
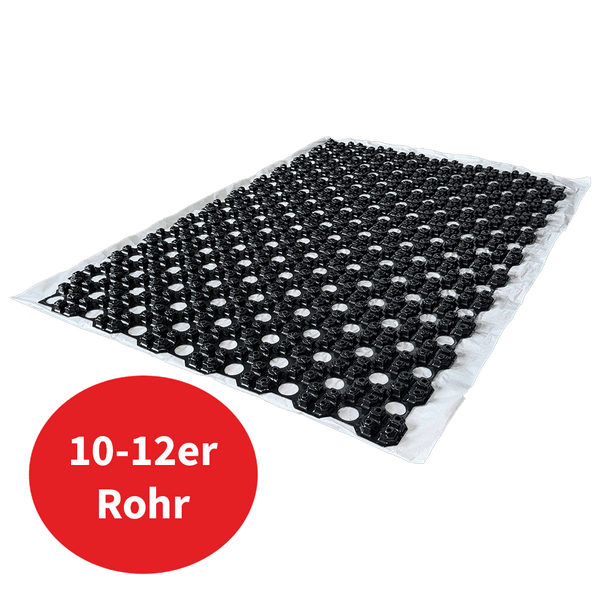
- →Dimpled membrane – NP12 (13 mm), NP14 (15 mm) or NP16 (17 mm)
- →PE-RT heating pipe Ø 12, 14 or 16 mm suitable for the foil variant
- →Kerakoll Planogel Rheo self-levelling compound (min. 5 mm cover)
- →Reinforced perimeter insulation strip, self-adhesive, min. 50 mm high
- →Heating circuit manifold + pressure gauge for pressure test (4 bar)
- →2 m straightedge, moisture meter (wood max. 15%), spiked roller, mixing pump
Substrate requirements
- →Load-bearing substrate: Cement screed, tiles (no hollow sound) or wood
- →Flatness ≤ 3 mm over 2 m – if more, apply leveling compound first
- →Dry and clean: no oil, no loose dust, no wet spots
- →Heating system with ≤ 45 °C flow temperature – optimal for heat pump (35–40 °C)
- →Door undercut to be measured in advance: NP12 → min. 23 mm, NP14 → min. 25 mm, NP16 → min. 27 mm
- →Hydraulic balancing: legally mandated since October 1, 2024 (GEG §60a) for every new heating system – Procedure B mandatory for heat pumps
Which version fits? NP12, NP14, or NP16
Underfloor Heating in Old Buildings: 5 Steps to a Finished Heating System
Check & prepare the substrate: Lay down a 2 m straightedge – deviation > 3 mm? Then apply leveling compound (e.g., Kerakoll Levelite) and let it cure for 24 h. Tap tiles: Hollow sound = risk of cracks in screed → fill. Measure wood moisture (max. 15 %). Vacuum, degrease subfloor. Duration approx. 30–60 min.
Install edge insulation strips all around: Adhere reinforced edge insulation strips to every wall, pillar, and door frame – without gaps. The reinforcement holds back the screed and prevents sound bridges. Only trim the top of the strips after the screed has fully cured. Warning: Without edge insulation strips, the screed can crack! Duration approx. 20 min.
Laying self-adhesive studded sheeting: Peel off the protective film, starting from a corner or from the manifold. Interlock the sheets laterally over the snap fasteners – they will audibly click into place. No adhesive necessary: the dimpled sheet adheres to screed, tiles, and wood. Butt the sheets together, do not overlap. Mark the pipe run with chalk. Duration approx. 45 min/20 m².
Install heating pipe & pressure test: Clip PE-RT pipe by hand into the studs – no tools required. Spiral shape: more even, edge area remains cooler. Meander: easier to install. Max. 70 m per heating circuit (12 mm pipe). Connect pipe ends to manifold. Pressure test: 4 bar cold pressure, hold for 24 h, photograph result. Heating runs continuously during the entire screed installation! Duration approx. 60–90 min/heating circuit.
Pour and cure Planogel Rheo: Mixing pump recommended for consistent viscosity. Apply compound quickly - at least 5 mm above the pipe crown. Roll with a spiked roller crosswise + lengthwise: air bubbles escape, surface becomes smooth. Self-leveling - no smoothing necessary. Drying time: walkable (light traffic) after 24 h, ready for flooring after 7 days. Attention: No heating in the first 28 days! Duration approx. 1–2 h/20 m².
Caution – Screed only by a professional
The pouring of Planogel Rheo screed should only be carried out by a qualified specialist company. Errors in the mixing ratio, covering thickness or processing temperature can lead to cracks, voids and system damage – and will invalidate the warranty. Laying dimpled sheeting and heating pipes: DIY possible. Applying screed: hire a professional.
Checklist: Before casting, check
✓ Pressure test passed (4–6 bar, 24 h, protocol photographed) · ✓ Edge insulation strips completely glued · ✓ All pipe ends connected to the manifold · ✓ Substrate moisture < 2% · ✓ Room temperature 5–30 °C · ✓ No open joints or penetrations · ✓ Film completely glued without bubbles. Only start grouting when all points are fulfilled.
Frequently Asked Questions about Thin-Film System Installation
Pour Planogel Rheo evenly over the surface and immediately spread it with a long squeegee. Then roll a spike roller (deaeration roller) crisscross and lengthwise over the entire surface – this pushes out trapped air around the pipes. Work carefully, especially at corners, pipe bends, and distributor connections. Air pockets are the most common error: They form voids and permanently reduce heat transfer.
Start heating no earlier than 48 hours after pouring – this is the minimum curing time for Planogel Rheo. Then start the heating protocol: Day 1–3, limit flow temperature to 25 °C, increasing daily by 5–10 °C until operating temperature is reached. Premature heating creates vapor pressure in the still-soft screed → bubbles, cracks, hollow spots. Adhering to the protocol is mandatory for the manufacturer's warranty.
Yes, absolutely. Fill the system with water, bleed it completely, then bring it to a test pressure of at least 4–6 bar. Maintain the pressure steadily for 24 hours. Document the result (manometer photos). Only then proceed with pouring. Leaks after pouring are extremely difficult to locate (screed milling, damage to flooring) – and the warranty is void if a pressure test is not performed.
Yes – since October 1, 2024, a legal requirement (GEG §60a) for every new heating system. For heat pump combinations, procedure B is mandatory (room-by-room calculation). Without balancing: no KfW funding, and the heat pump operates inefficiently. Costs in a single-family home: approx. €600–1,000 by a specialist company. Result: even heat distribution in all rooms, optimal COP of the heat pump.
Thin-Film System – Products
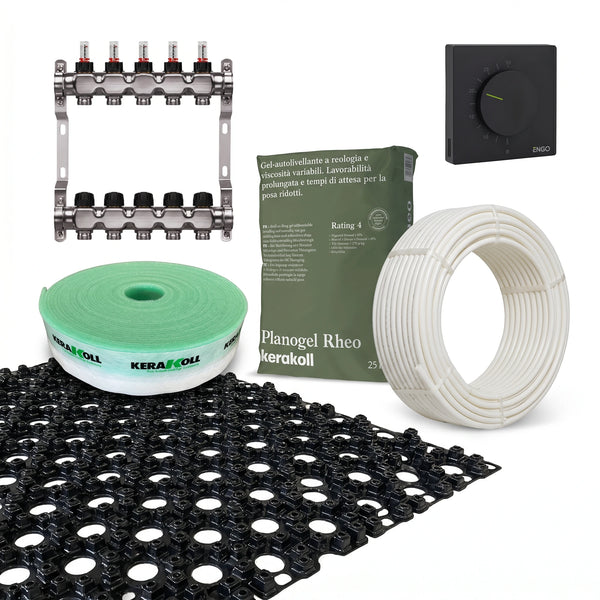
Low-Profile Underfloor Heating Complete Set | Configure your set!
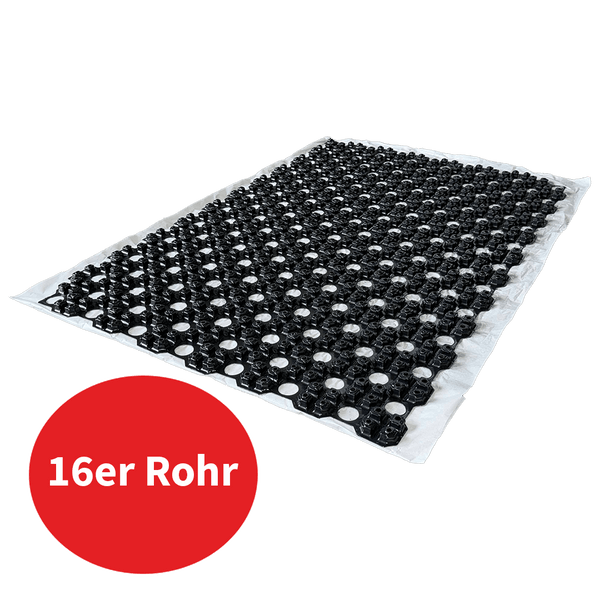
13.74 m² Thin-layer Underfloor Heating Dimpled Sheet NerthusFlow for 16mm Pipe
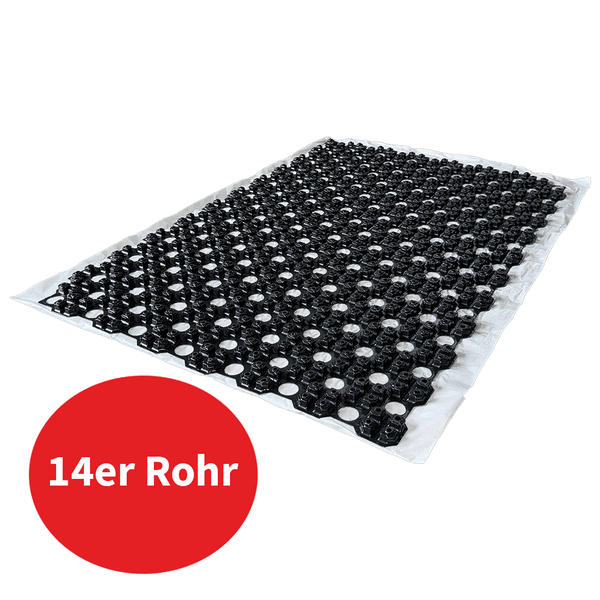
15.46 m² Thin-layer underfloor heating studded membrane NerthusFlow for 14mm pipe