
Materials & Requirements
Materials Needed
- →Velcro system Slim (2 mm) or Velcro system Silent (5 mm) loop fabric
- →KLETT PE-RT EVOH Heating Pipe 14×2 mm or 16×2 mm
- →Edge insulation strips (minimum width 8 cm, self-adhesive)
- →EPS thermal insulation WLG 031 (thickness according to EnEV/GEG)
- →Filler (25–30 mm thick, professional installation only)
- →Water manometer for pressure testing (test pressure 3 bar)
Prerequisites Before Installation
- →Subfloor levelness ≤ 3 mm over 2 m (check with straightedge)
- →Substrate dry and weight-bearing — no residual moisture > 2% CM
- →For wooden substrates: Wood moisture content ≤ 15% (use a moisture meter)
- →Thermal insulation already installed according to GEG
- →Heating manifold installed and pipe lengths planned (max. 100 m/circuit)
Preparation: What you need to know
Installing a hook-and-loop system: 8 steps
Step 1: Substrate preparation: Check the substrate for flatness with a 2-m straightedge — tolerance max. 3 mm. Level out unevenness exceeding 3 mm before installation (levelling compound). The substrate must be dry (residual moisture cement screed ≤ 2% CM, anhydrite ≤ 0.5% CM) and free of dust, oil, or loose particles. Ensure load-bearing capacity: at least 20 kN/m².
Step 2: Install thermal insulation: Install EPS panels, thermal conductivity group 031, with a linear offset (min. 20 cm joint offset). Secure joints with adhesive tape so that the hook-and-loop fleece lies flat later. Thickness according to GEG: at least 100 mm for unheated basements, at least 120 mm for contact with the ground. Panels must not form cavities – if necessary, backfill with sand or leveling compound.
Step 3: Install edge insulation strips: Apply self-adhesive perimeter insulation strips all around all walls, door frames, and columns. In room corners, cut and overlap the strip—no gaps. The strip prevents thermal and acoustic bridges and accommodates the thermal expansion of the screed. After the screed has hardened, trim the excess flush.
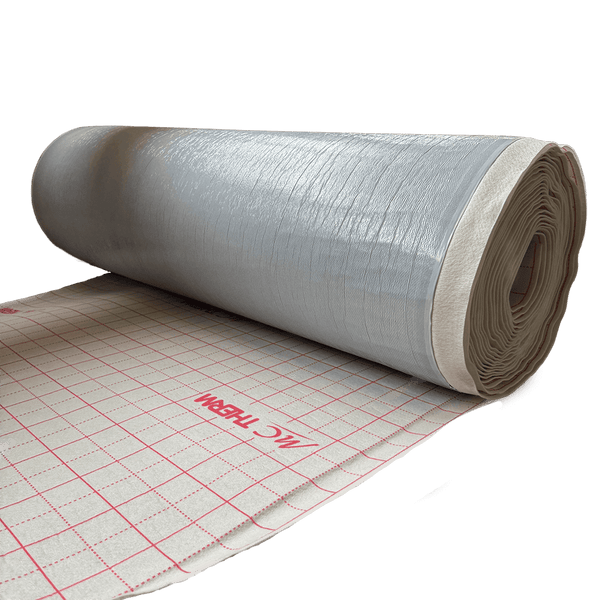
Step 4: Unroll hook and loop fleece: Unroll the hook-and-loop fleece from one side of the room to the other. Peel off the protective film from the adhesive layer and press the fleece flat onto the insulation - preferably with a broom or smooth roller. Lay the strips with at least 5 cm overlap. The fleece adheres even to EPS; on very rough surfaces, it may need to be secured with double-sided adhesive tape. Maintain a 20 cm distance from the wall - this is where the edge insulation strip will be.
Step 5: Push in heating pipe: Press the PE-RT EVOH heating pipe (14×2 mm or 16×2 mm) into the hook and loop fleece according to the installation plan - no special tools required, the hook and loop fasteners hold the pipe in place. Standard pipe spacing: 10 cm (= 10 m pipe/m²). Bending radius at least 5 times the outer pipe diameter (≥ 7 cm for 14 mm pipe). Do not lay returns over butt joints of the insulation panels. Observe a maximum pipe length of 100 m per heating circuit.
Step 6: Manifold Connection & Documentation: Connect heating pipes to the manifold. Label each heating circuit (room designation + length). Check flow indicators on the manifold – all circuits must be flowing. Document the occupancy plan with pipe routing photographically (mandatory for later drilling work). Connect flow and return sensors.
Step 7: Pressure Test: Fill and vent each heating circuit individually with water. Bring the entire system to a test pressure of 3 bar and maintain for 10–15 minutes per heating circuit. The pressure must not drop. Record the result (a pressure test report is a prerequisite for warranty claims and screed work). In case of a pressure drop, immediately locate the leak and replace the pipe.
Step 8: Apply filler: Covering the heating pipe with filler or screed: at least 10 mm above the pipe, 25-30 mm total height recommended (thin-layer). After application, use a spiked roller to remove air inclusions. Protect screed from drafts during the hardening phase. Follow the heating protocol according to DIN EN 1264-4.
Screed and Filler: Specialist company required
The application of filler compound and screed over underfloor heating must be carried out by a certified screed layer. Incorrect mixing ratios, uneven application thickness or missing expansion joints can lead to cracks and permanent damage to the system. The pressure test report must be submitted to the screed layer before the start of work.
Frequently Asked Questions About Hook-and-Loop System Installation
Hook-and-loop System Products for Your Installation
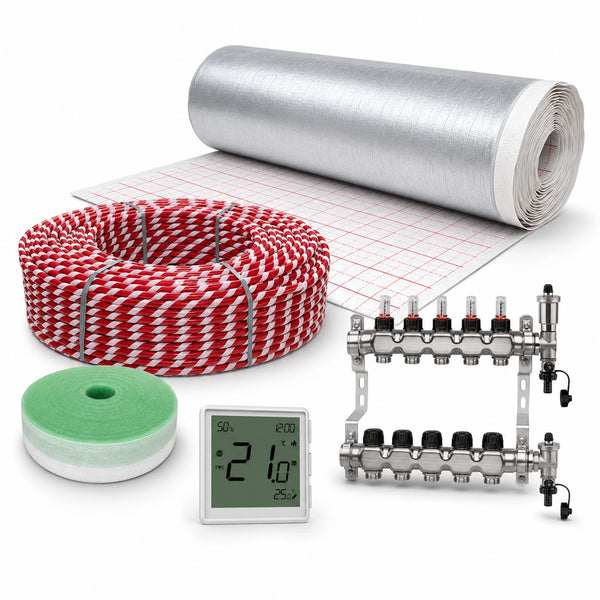
Underfloor Heating Hook and Loop System Complete Set | Configure Your Set
Underfloor Heating Complete Set
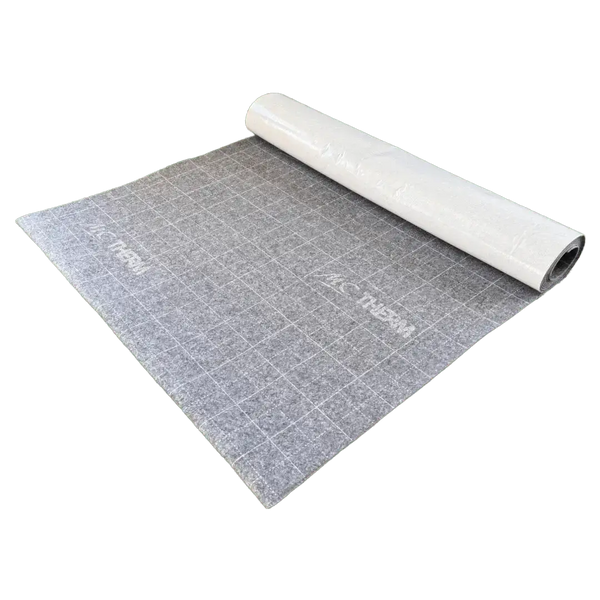
10m² MC VELCRO Slim – Hook-and-loop fleece for underfloor heating
Velcro fleece
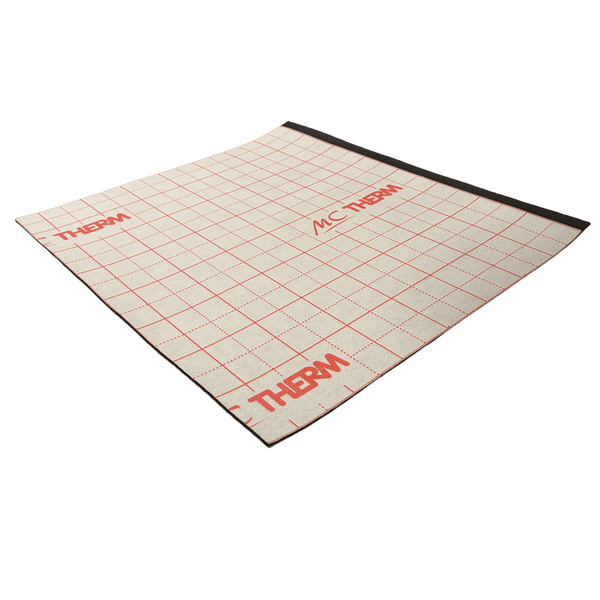
MC KLETT Slim 20m² – Velcro fleece for underfloor heating
Velcro fleece
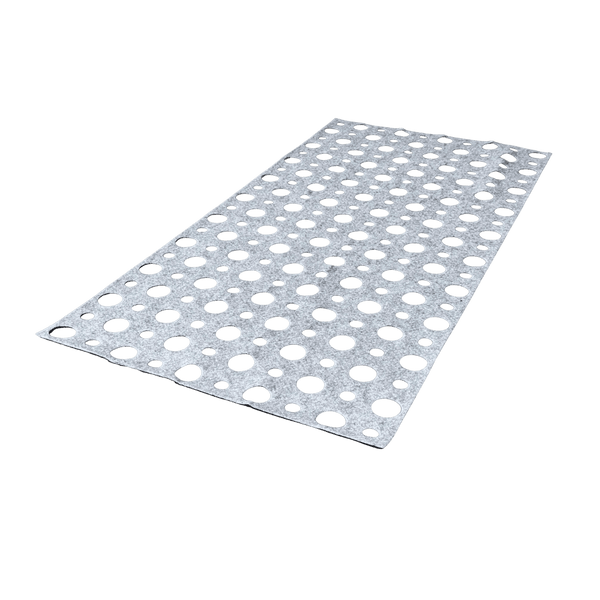
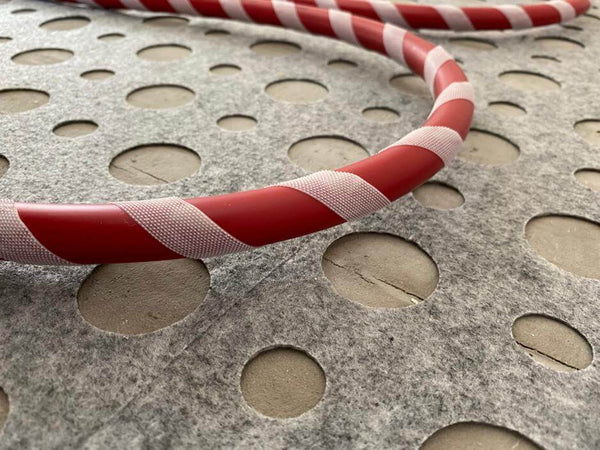
10m² TempusFlat Hook-and-Loop Thin-Layer Underfloor Heating
Velcro fleece