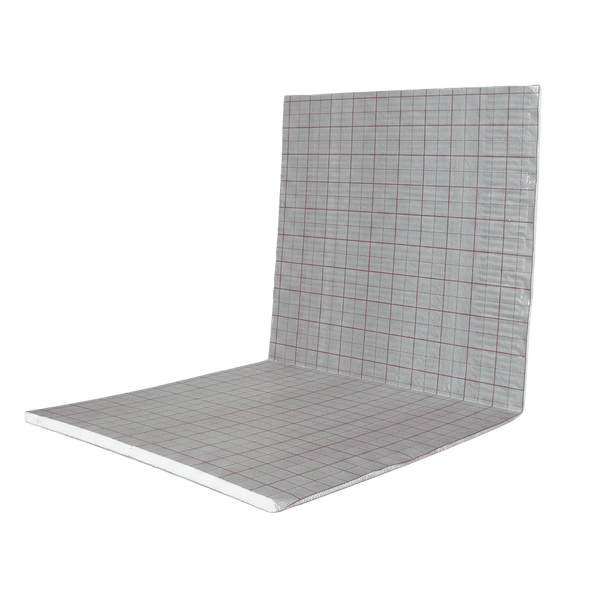
Materials & Requirements
Materials Needed
- →EPS folding panels or roller track (WLG 045 / 040 / 035, thickness according to planning)
- →PP mesh film with scrim (for EPS panels without mesh)
- →PE-RT heating pipe 16×2 mm (or 14×2 mm)
- →Tacking pins (snap clips, matching the pipe diameter)
- →Edge insulation strips (at least 8 mm thick, height up to top of finished floor)
- →Stapler hand tool or stapler gun for snap clips
- →Water manometer for pressure testing (test pressure at least 6 bar)
Prerequisites before laying
- →Substrate level according to DIN 18202: max. 5 mm over 2 m (check with straightedge)
- →Substrate dry: Residual concrete moisture ≤ 2% CM — Do not lay on fresh concrete
- →Load-bearing capacity min. 20 kN/m², free of dust, oil, and loose parts
- →Heating manifold installed, pipe lengths planned (max. 100–120 m per circuit)
- →Installation plan with pipe spacing (standard 15 cm) and circuit division created
Preparation: What you need to know before installation
Installing a staple system: 8 steps
Step 1: Substrate Preparation: Check the subfloor with a 2-m straightedge according to DIN 18202: The tolerance is max. 5 mm. Irregularities greater than 5 mm must be corrected with leveling compound before installation. The subfloor must be dry — concrete residual moisture max. 2% CM. Completely remove dust and loose particles. Ensure a load-bearing capacity of at least 20 kN/m².
Step 2: Attach perimeter insulation strips: Attach edge insulation strips (at least 8 mm thick) all around all walls, door frames, and columns — without gaps. In room corners, cut the strip and overlap it slightly. The strip must extend to the top edge of the finished floor so that the thermal expansion of the screed is fully absorbed. Only after the screed has fully hardened should the protruding part be trimmed flush.
Step 3: Laying EPS insulation boards: Lay EPS folding panels or roll track in a staggered bond — offset joints by at least 20 cm. Panels should butt together tightly, with no gaps exceeding 5 mm. Make clean cuts with a jigsaw or utility knife. Secure the joints between the panels with adhesive tape so that the grid foil lies flat. The compressive strength of the EPS panel must correspond to the later live load (WLG 040 = 5,000 kPa recommended for living spaces).
Step 4: Unroll gridded film: Unroll the grid film (PP) from one side of the room to the other, pull it taut, and lay it with an overlap of at least 20 cm at the seams. Secure the overlaps with adhesive tape. The film dictates the laying pattern – pipe spacing can be read directly from the grid. Press the film firmly onto the EPS panels so that tacking can be done flat later.
Step 5: Lay and staple the heating pipes: Lay PE-RT heating pipe from the dispenser – never kink. Place snap clips every 50 cm; in curves, place a clip at every curve. Bending radius at least 5× outer pipe diameter (for 16 mm pipe, at least 80 mm). Standard pipe spacing: 15 cm (= 6.67 m pipe/m²). In edge zones and bathrooms, closer spacing (10 cm) is possible for higher heating output. Maintain a maximum pipe length of 100–120 m per heating circuit. Do not turn the pipe on slab joints.
Step 6: Distributor Connection & Documentation: Connect the heating pipes to the manifold. Label each heating circuit (room name + length in meters). Check the flow indicators on the manifold - all circuits must be flowing. Document the pipe layout with photos: mandatory before the screed is laid, so that later drilling does not damage the pipes. Connect the flow and return sensors.
Step 7: Pressure Test: Fill each heating circuit with water and vent completely. Bring the entire system to at least 1.3 times the operating pressure - a minimum test pressure of 6 bar. Maintain pressure for 24 hours. The pressure must not drop. Record the result in the pressure test report - this report is mandatory before screeding work and for warranty claims. In case of pressure drop, immediately locate the leak.
Step 8: Lay the screed: Install cement screed according to DIN 18560: Minimum covering over the pipe 45 mm (CT) or 30 mm (CA anhydrite). Protect screed from drafts and direct sunlight during the hardening phase. Follow the heating protocol according to DIN EN 1264-4: First commissioning no earlier than 28 days after screed installation, gradual temperature increase. The screed layer must receive the pressure test report before commencing work.
Screed only by certified screed layer
The screed must be laid over the underfloor heating by a certified screed layer. Incorrect mixing, uneven application thickness, or a lack of expansion joints will lead to cracks and permanent system damage. The pressure test report must be available before screeding begins.
Frequent Questions about Staple System Installation
Stud System Components for Your Installation
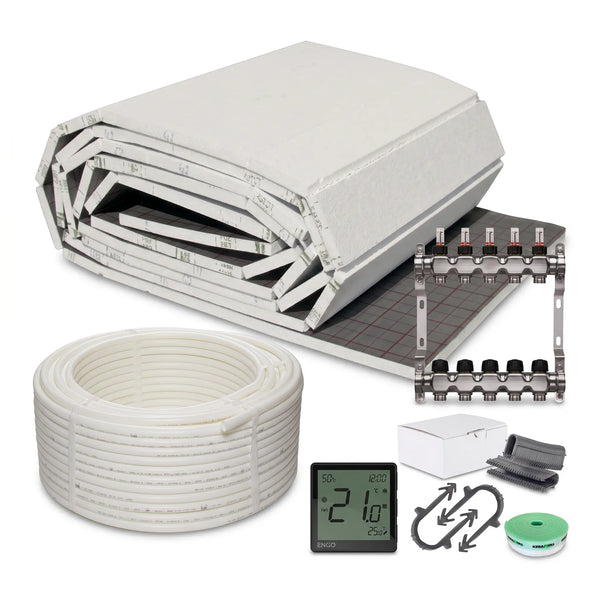
Tacker System Underfloor Heating Complete Set | Configure & Buy Now
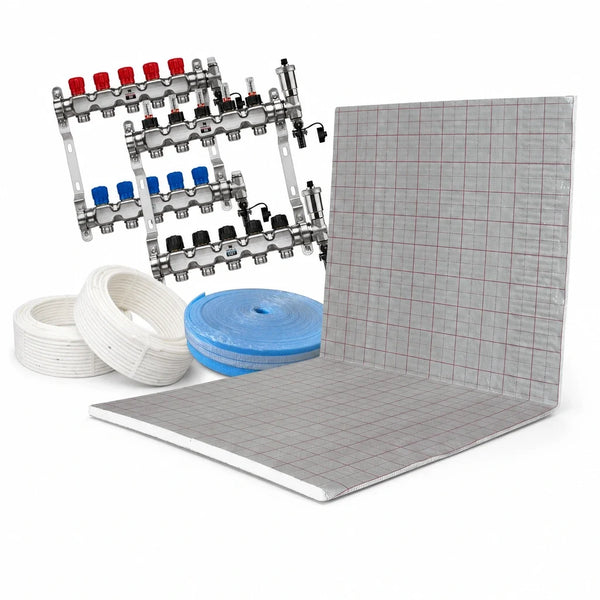
Tacker System Underfloor Heating Complete Set 100 m²
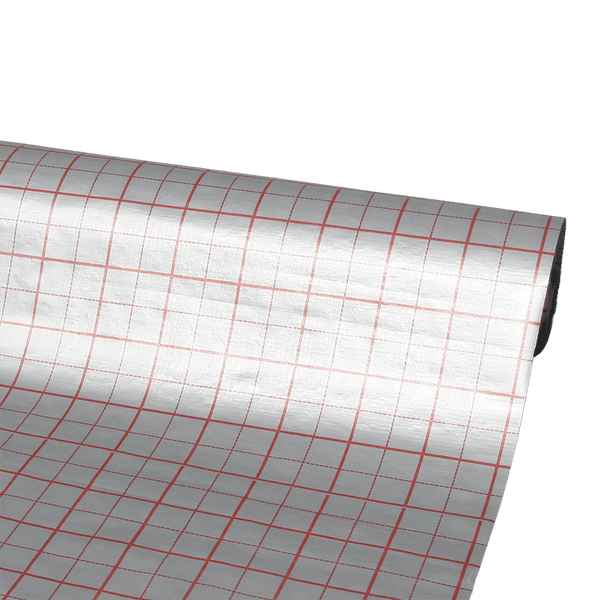
Grid foil for underfloor heating with ribbon fabric – sold by the meter