Materials & Prerequisites for Timber Beam Ceilings
Materials Required
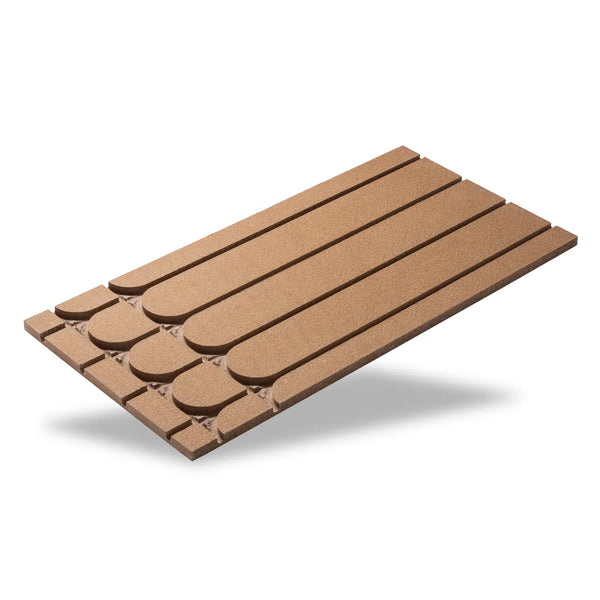
- →Wood fiber system panel (Meander) 25 mm — 22.64 €/m² — ideal for wooden beams with 56 dB sound insulation
- →EPS 300 System Panel (Meander) 25 mm — €14.92/m² — for timber beams without sound insulation requirements
- →Heat transfer plate, omega profile for 16mm pipe — €1.77/pc. (4.5 pcs./m²)
- →PE-RT-ALU-PE-RT Multilayer Pipe 16×2 mm — €0.70/m (7 m/m² at 150 mm spacing)
- →Edge insulation strips — €2.53/m, continuous, at least 5 mm thick
- →Fermacell 2E22 Dry Screed Element 2x12.5 mm — approx. €13/sqm (procure separately)
Requirements for Wooden Beam Ceilings
- →Check wooden beams for deflection: max. deflection L/300 (for 4 m span: ≤ 13 mm)
- →Screw down all boards and planks, no loose elements — rattling noises cannot be rectified once the work is complete
- →Measure wood moisture ≤ 15 % (moisture meter) — higher moisture leads to swelling and warping
- →Close gaps and holes in the planking — prevent moisture ingress from below
- →Compressive strength wood fiber system panel: 140 kPa — sufficient for residential loads ≤ 200 kg/m²
EPS 300 vs. Wood Fiber System Board on Wooden Beams
Installing underfloor heating on a wooden beam ceiling: 8 steps
Step 1: Prepare the wooden beam ceiling: Screw all floorboards to the joists with 4×60 mm screws, spaced 30 cm apart. Fill gaps and joints with permanently elastic sealant. Measure wood moisture at several points – target value ≤ 15%. Check for flatness (straightedge 2 m): tolerance for drywall max. 5 mm. Rectify larger unevenness with leveling compound. Check threshold and door frames for planned finished floor height.
Step 2: Perimeter insulation strips and moisture barrier: Apply edge insulation strips all around all walls. Lay out PE film (min. 0.2 mm) over the entire area — particularly important on wooden beams to keep condensation moisture away from the heating layer. Overlap sheets by 20 cm, and seal tightly with adhesive tape. Pull the film up the walls and fix it behind the edge insulation strip.
Step 3: Laying the thermal insulation: Install EPS insulation boards (DEO, ≥ 100 kPa) with offset joints. On wooden beams: observe R-value according to DIN EN 1264-4 — at least 0.75 m²K/W for heated rooms below. Stagger layers, secure joints with adhesive tape. For wooden beam ceilings: fill cavities between the beams with insulation material beforehand to prevent convection.
Step 4: Gluing the System Plates: Wood fiber system panels (recommended for wooden beams): Apply water-resistant flexible adhesive with an 8 mm notched trowel. Lay panels in a staggered bond, with a minimum joint offset of 200 mm. The higher panel weight (7 kg/m² vs. 0.5 kg/m² for EPS) improves sound insulation through mass. Allow adhesive to cure for 24 hours. Check meandering channels for continuous alignment.
Step 5: Laying the heat distribution plates and heating pipe: Press the heat spreader plates (4.5 pcs./m² at 150 mm spacing) into the channels, with a maximum 5 mm gap between the plates. Insert the PE-RT-ALU-PERT composite pipe 16×2 mm into the channels – maintain a minimum bending radius of 80 mm. Max. 90–100 m per heating circuit. Document the rough installation photographically. For wooden beams: prefer laying perpendicular to the beams to ensure even heat distribution.
Step 6: Leak Test: Fill and vent all heating circuits. Test pressure: 1.3 times operating pressure, minimum 6 bar. Hold for 24 hours. Log. Particularly important on wooden beams: a water leak under the dry screed element leads to permanent wood damage. Ensure tightness before laying the screed.
Step 7: Laying the dry screed element: Lay PE separating foil. Lay Fermacell 2E22 (2×12.5 mm) – offset joints by at least 200 mm, glue over the entire surface, 10 screws/m². Mark the pipe layout on the element before setting screws. Always set screws between the heating pipes – never through the pipe layer. Walkable after 24–72 h. No waiting for screed to dry.
Step 8: Initial Startup and Flooring: Heating protocol according to DIN EN 1264-4: 25 °C start, +5 °C daily, max. 55 °C flow. On wooden beams: Wooden floorboards as flooring — maintain max. thermal resistance of 0.15 m²K/W. Parquet: max. moisture 9% before installation. Tiles can be glued directly onto Fermacell. Perform hydraulic balancing.
Frequent Questions: Underfloor Heating on Wooden Beam Ceilings
Drywall System Components for Timber Beam Ceilings
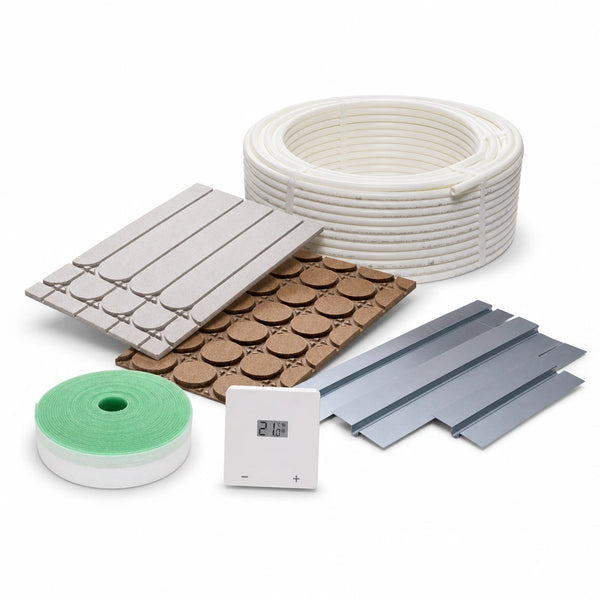
Drywall Underfloor Heating Complete Set | Drywall System Configurator

ArdusAlu Komplettset Trockenbau-Fußbodenheizung – EPS 300 mit Alu-Wärmeleitschicht statt Wärmeleitblechen

Drywall Underfloor Heating Complete Set EPS300